


|
|
|
|
|
|
| |
|
|
|
|
| |
|
|
|
|
|
|
|
|
|
|
|
|
|
|
|
|
|
Main Channel:
#thewafflehouse@irc.irchighway.net Blogs: Floating_Sakura . raxiv . velocity7 . |
|
IRC Guide - So, you want to go on IRC to leech huh? Why IRC? What is IRC even?1. Get an IRC client. 2. Installation 3. Loading mIR 4. mIRC settings 5. Finding the network and channel 6. Finally on IRC, what now? 7. Nickname woes 8. Registering for your nickname 9. Joining the channel 10a. To get files off a random user 10b. To get files off a xdcc bot 11. Then what? Why IRC? What is IRC even? Well, IRC stands for Internet Relay Chat, and most scanlation groups, like our's use this is the main source of distrobution as well as, a place to hang out and chat. About stuff, like manga and being perverted. Mostly the latter. And why IRC and not http downloads? Well, on IRC, downloads are from other peers, so it is pretty much P2P. And since it is P2P, it saves alot of bandwidth, as most users and bots have unlimited bandwidth for leechers(such as yourself ;) ) to get files from. Hosting downloads costs bandwidth, bandwidth costs money for the fansub and scanlation groups. Some places will offer downloads for money, we strongly advise against it, because we scanlate(others fansub) for our love of anime and manga, not for our personal wants and greed. I guess that's enough talk, and now onto the IRC guide itself. Step One - Get an IRC client. There are lots of popular IRC clients, with the most basic being mIRC, with other more advanced being UPP. I will be using mIRC as the guide. Step Two - Installation The installation is pretty basic, nothing much to it, press OK, OK, install and you're done! When it finishes, it prompts you to either read the readme or launch mIRC. Launch mIRC. Step Three - Loading mIRC When it first runs, you should see this: 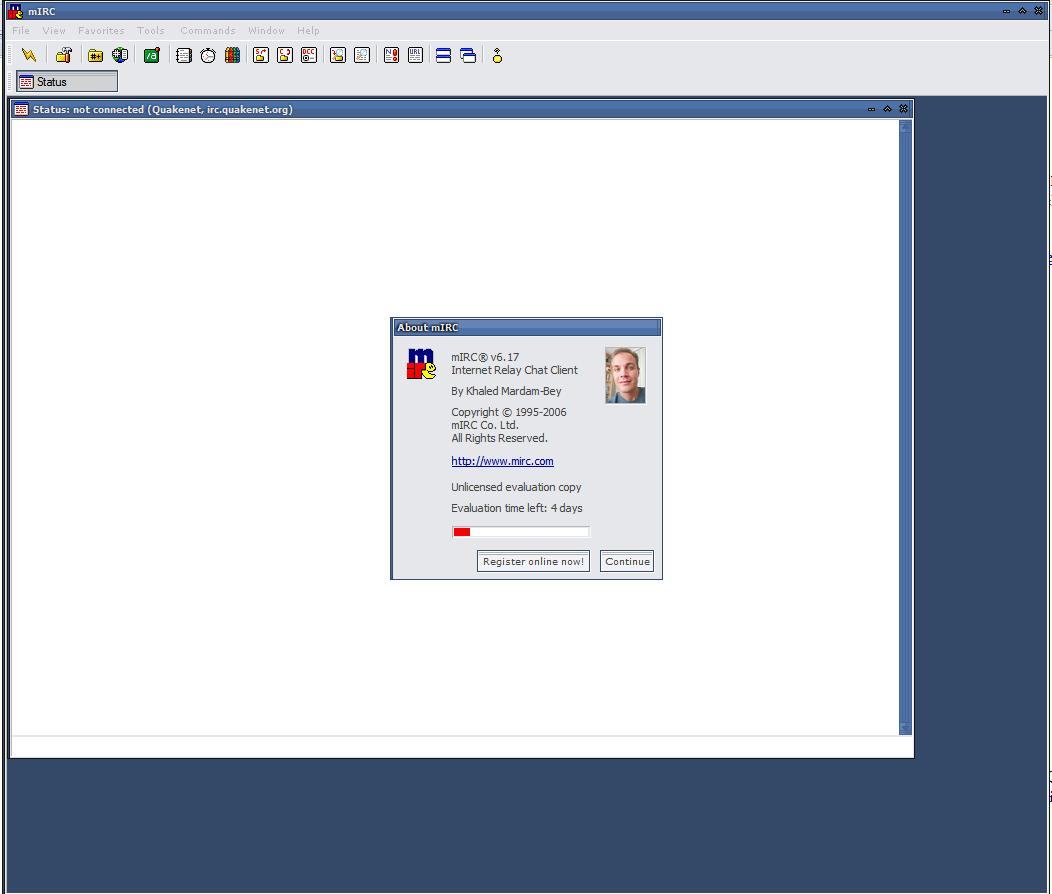
Press continue, and this screen will pop up. 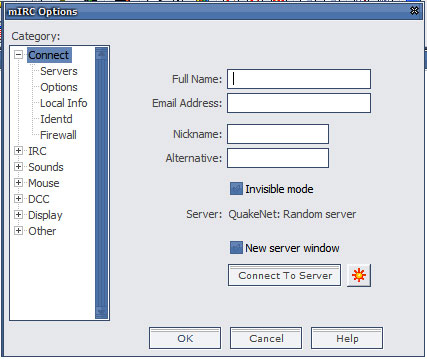
Step Four - mIRC settings This window will pop up and here is where your settings first go. For first name and email, you don't have to put your real info in, as it does not really do anything. The nickname you use will be what your screen name will be once in IRC. Your alternative nickname is your other screen name, in case nickname #1 is either used or is taken. It switches to this if you tried to take a nickname that someone else has already registered or is currently using. 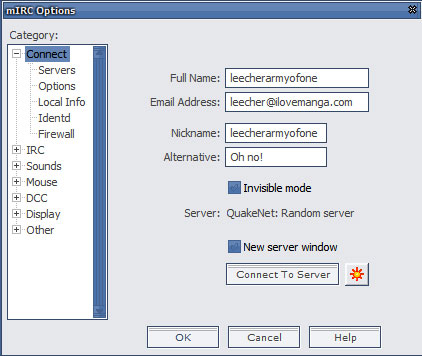 *note* Everyone will have an unique screen name, no nickname can be used by multiple people at once, and once a nickname is registered, you can not use it unless you are the registrar. More on this later on. Step Five - Finding the network and channel You should know of the group you want to download a manga/anime from, and with that, is their IRC Channel and server. Most manga scanlation groups are on IRCHighway(irc.irchighway.net), while most anime fansub groups are on Rizon(irc.rizon.net). Here, on the dropdown menu, you can browse through all the listed public IRC servers avaliable for your to connect. Browse down until you see your desired server, whether it be IRCHighway or Rizon. 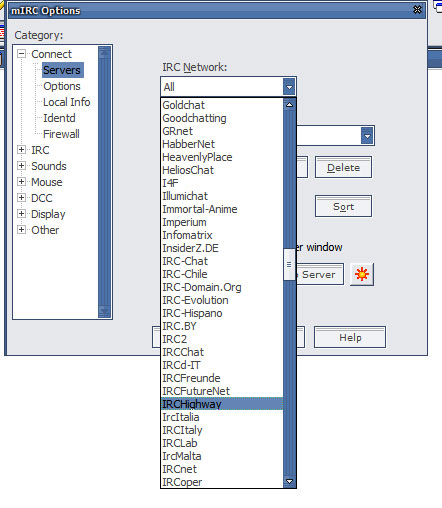
Once you have selected it, press on 'Connect to Server' Step Six - Finally on IRC, what now? Once you connect, you'll be spammed by alot of text, but don't worry about that. There will also be a Favourite Channel popup with the default favourite channels. Check off Popup on connect if you want to. 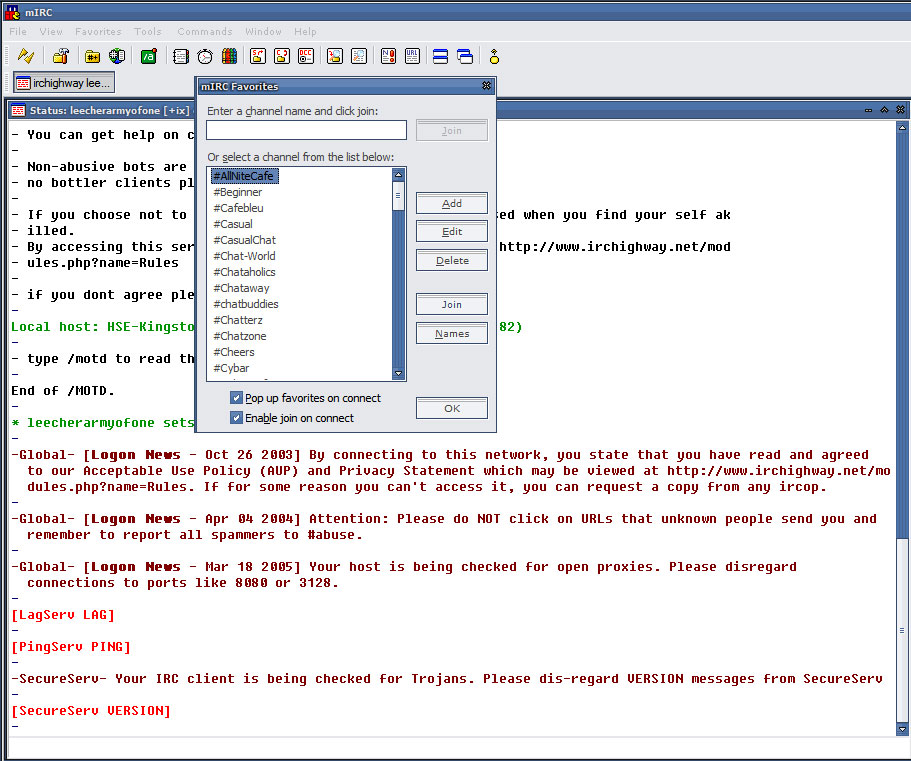
Step Seven - Nickname woes Depending on what nickname you use, it may already be taken. If you want a common name, such as 'Kenshin' or 'Sakura', chances are that they have already been taken. If it has, the server nickserve bot will ping you, as shown below. If you don't change your nickname within the timeslot it gives you, then you will automatically be changed to a Guest user, usually like Guest853849574398. 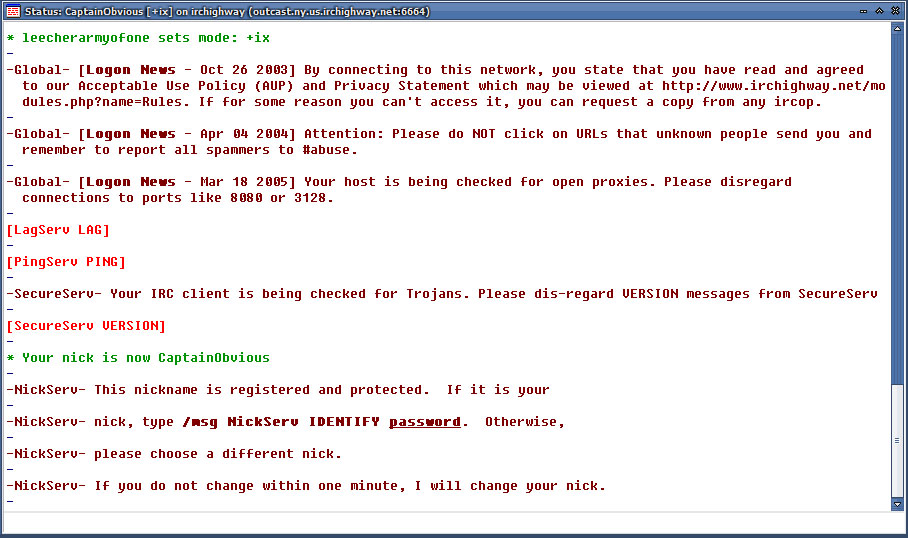
To change nickname, just type in the following, /nick NewNickNameHere If you find a nickname you can use without nickserve warning you to identify, then it is a free nickname! You can easily register for your nickname now! Step Eight - Registering for your nickname To register, type in the following: /ns register password email , with password and email as your desired info. 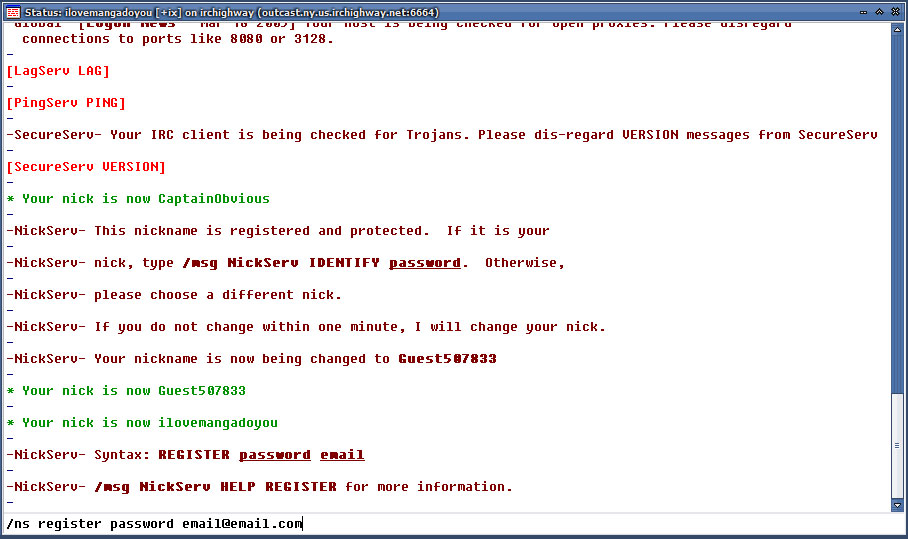
Once registered, you will receive an email quickly, where you activate the account. 
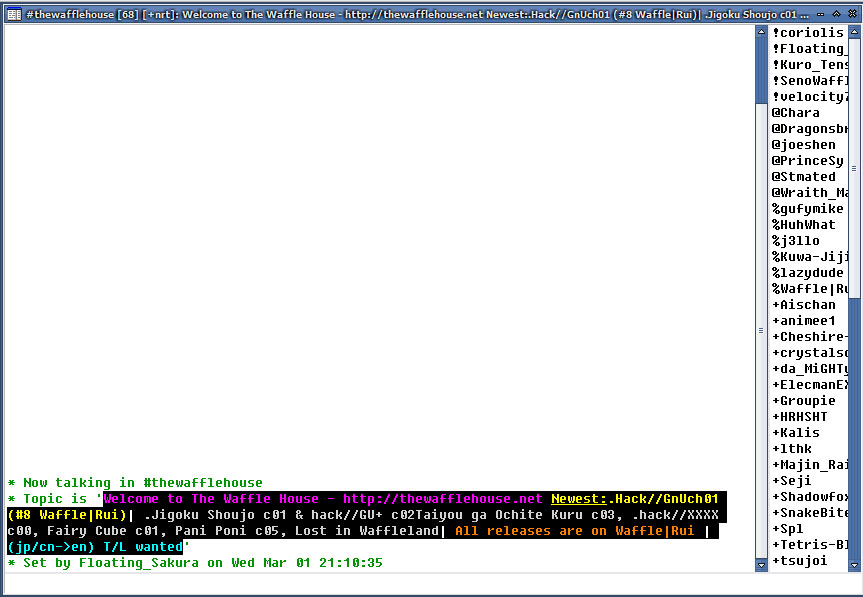
When you receive the email, just do what it says, and type in the passcode in the message command as provided. From now on, whenever you want to get back on IRC, and nickserv prompts you to identify, type in /ns identify password , with password being your password. There are ways to auto identify, but thats for you to learn, it's just the basics here =) For more nickserve commands, do a /ns help Step Nine - Joining the channel Once you know the channel, it is easy to join. Just type in /join #ircchannel , wither #ircchannel being the ircchannel of your choice. For us, our irc channel is #thewafflehouse, so that would be a /join #thewafflehouse And you'll see this: On the right is the users, listed by power alphabetically. ! means channel admin operator, @ means operator, % means half operator, + means voice and everyone else is a regular user. Once you are inside a channel, be respectful, and say Hi and greet everyone there. Step Ten - How to get files *Before getting files, you need to disable hostmasking, which is (on irchighway) //mode $me -x and (on rizon) //mode $me -h* The most basic command is !list, which lists all the avaliable file servers that users have provided. All voiced users, users with +, have fileservers, which is why they are granted a voice(+). Once you !list, you'll see a spammage of bright words and advertisements. 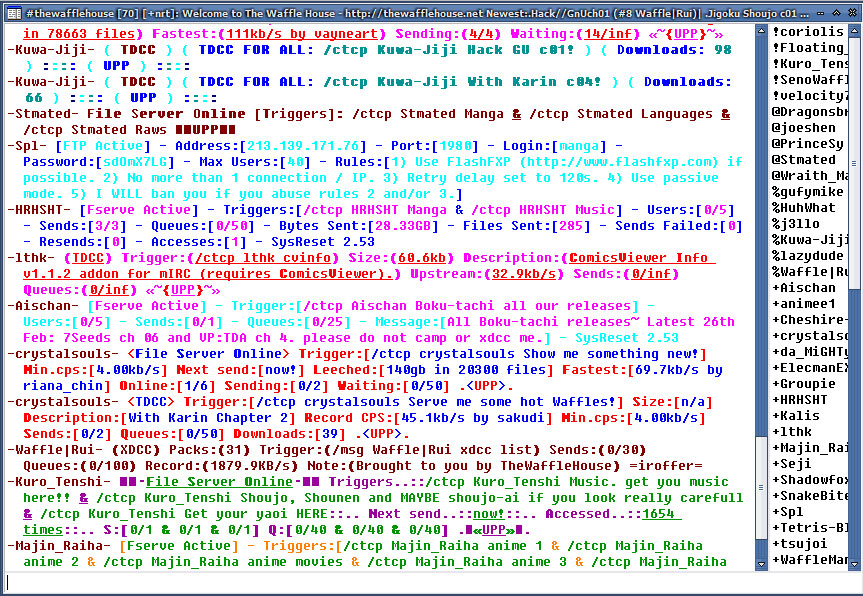
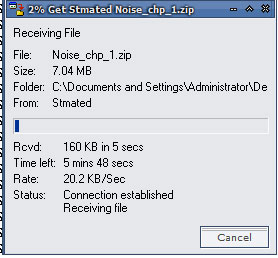
Here is where it gets tricky. Every advertisement has a trigger where you type in to enter the fileserver. Fileserver triggers usually start with /ctcp , while xdcc and tdcc servers start with /msg. There are also FTP advertisements, but that's advanced stuff :) Step Ten Part 1 - To get files off a random user When you want to get a file off a random user's File Server, which will be caled fserv from now on, just enter their trigger. In this example, I will use Stmated. His trigger is /ctcp Stmated Manga and you just need to copy paste it, by clicking and dragging over the trigger in the channel. Now just paste(ctrl + v) onto the bottom and press enter. Now there will be a popup saying if you want to initiate a chat session, press Accept. 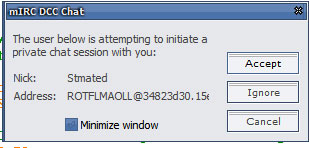 *note* If you have a firewall, you may not be able to enter ALOT of fservs, so you should just try another one, or open ports. It will look like this when you accept, another window will popup, and this is the chat session, or the fileserv itself that you have entered. 
The basic commands are easy to remember, they are 'dir', 'cd', and 'get'. It is basically MSDOS commands, 'dir' is listing the directory, 'cd' is to enter/leave a folder, and 'get' is, you guessed it, getting a file! Fileservs' usually have a timed limit of you being inside, and also a idle timer, so if you idle for too long, you get booted! But you can just as easily reconnect to the filserv, by issuing the same command trigger as mentioned before. Here, you use the command dir to browse the current folders, then cd to enter a folder. Inside that folder, there could be more folders, so you browse through that as well. 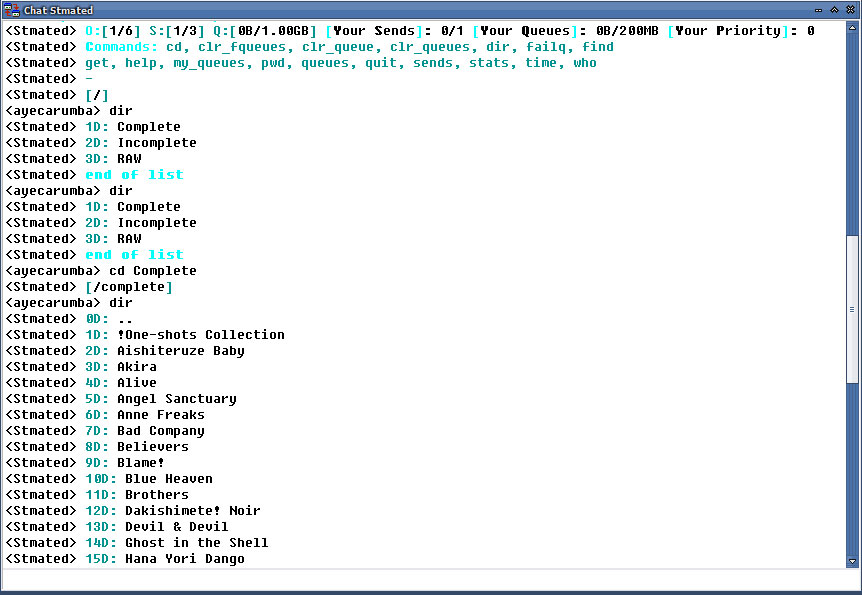
Once you enter a folder you want files from, just type in get and copy paste the filename, and press enter. You will have a popup with a warning that that person is trying to send you a file, press accept if you confirmed that is indeed the file you requested. If you do not get a popup, you may be in queue, as there are other people requesting for files and you have to wait in line. 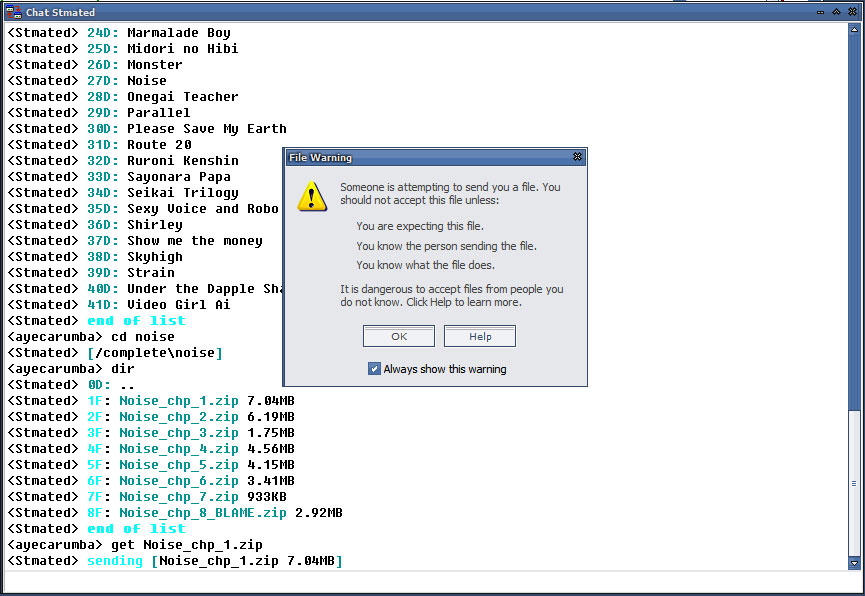
Once you accept, the file will start downloading
The finished file will appear in a folder, and you get to it through here. Step Ten Part 2 - To get files off a xdcc bot An XDCC bot is a 'bot' dedicated to hosting files. There is USUALLY no one there, just an IRC client that has a fileserv. Usually the bots are super fast, as they are 100megabit connection or higher! In this example, I will be using Waffle|Rui as the server. The trigger is /msg Waffle|Rui xdcc list as indicated by the advertisement, but in this case, it prompts you to go to the site for the packlisting. A packlist is the list of avaliable 'packs' which you can download. Other bots may message you the packlist, or list the packlist in the current window. 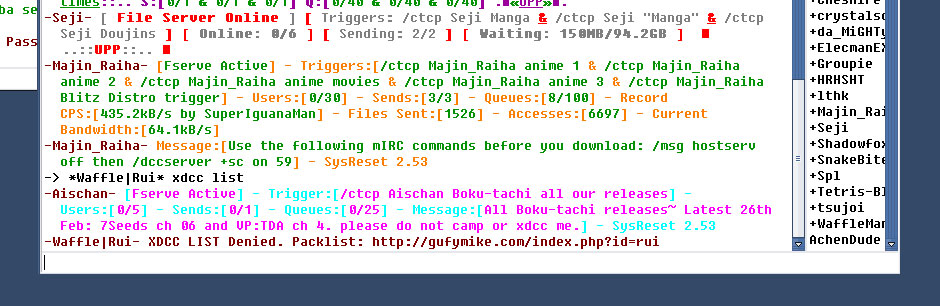
On the site, there is a listing of the bot. 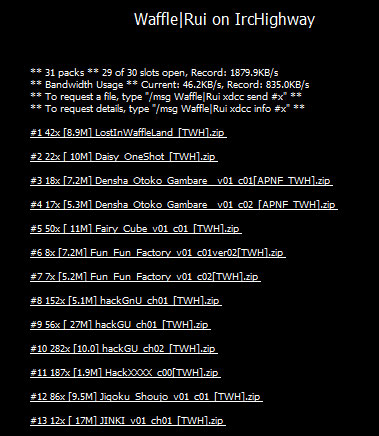
To request a file, you have to look through the packs to see which one you want. Lets say you want .hack//GU+ chapter one, in the list it is pack #9. 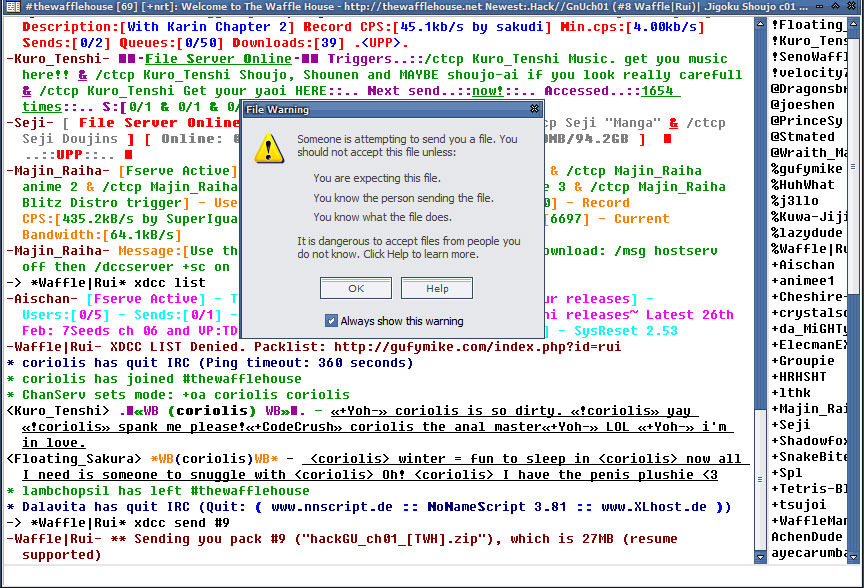
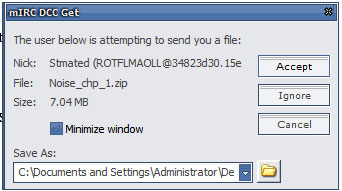
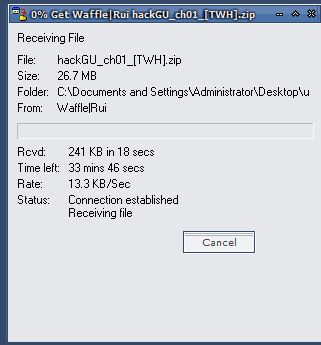
The command to get the file is /msg Waffle|Rui xdcc send #x , where x is the pack number, so to get .hack//GU+ chapter one, you put in /msg Waffle|Rui xdcc send #9
Success! Press accept and you will be quickly getting the file(OK, I have a slow wireless connection, so what? >__< ). The finished file will also appear in the folder as mentioned above. Step Eleven - ??? Now's the time you go out there and learn more, it's a really simple concept, and effective, IRC is indeed. There are tons of features to learn and addons to play with. I hope this guide has helped you, see you on IRC! -coriolis (March 2nd 2006) |
|
The Waffle House (c) 2005. Website created by Kuris. Original waffle photo. |